
A Comprehensive Map
Making soap at home is a rewarding experience that allows for personalization and creativity. The process involves a chemical reaction called saponification, where oils and fats are combined with lye (sodium hydroxide) to create soap. There are two primary methods for making soap from scratch: cold process and hot process. While both begin similarly, the key difference lies in the application of external heat.

Cold process soapmaking does not involve additional heat and requires a 24 to 48-hour period in a mold for saponification to complete. After that, it needs several weeks of cure time to reach its best quality. In contrast, hot process soap is heated, often in a crockpot, which speeds up the saponification time, but it still requires a cure time, though sometimes it is a shorter cure time.
Safety First: Handling Lye
A crucial aspect of making soap from scratch is handling lye, a caustic substance that requires careful handling by responsible adults only. Lye, also known as sodium hydroxide, was traditionally made with wood ashes, but today is a standardized product. It’s essential to use proper protective gear, including gloves and eye wear, while working with lye. Children should not be involved in this activity and pets should be kept out of the work area.
Always add lye to water, never the other way around. This can be remembered by thinking of snow (the lye) falling on a lake (the water).
The lye solution heats up quickly and releases strong fumes, so it’s important to avoid breathing them in.

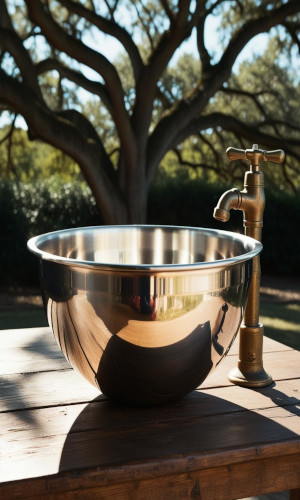
An ideal workspace is near a kitchen sink with an open window or outdoors.
In case of skin contact with lye, wash it off with plenty of cool water.
If you’re not comfortable working with lye, you can consider melt and pour soap, which uses a pre-made soap base, eliminating the need to handle lye directly.